LED Sequential Control Beginner Project
Components Required
- Arduino Uno
- Bread board
- USB Cable
- Jumper Wires
- 3 LEDs ( Different Colors )
- 3 Resisters ( 220 ohm each )
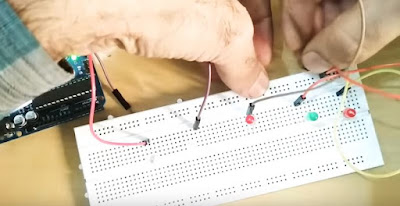
Connect the Circuit
To connect ground to do this use a jumper wire to connect the ground pin on the arduino to the negative rail on the breadboard this allows all the LEDs to use the ground pin on the Arduino
Step2
To insert the resistors into the breadboard space the resistors out with one leg connected to the negative rail on the breadboard
Step 3
insert the LEDs The longest pin is the positive (+) and the shortest pin is the negative(-). If it is wired the wrong way it will not operation
source code :
int led2 = 12;
int led3 = 11;
// the setup routine runs once when you press reset:
void setup() {
// initialize the digital pin as an output.
pinMode(led, OUTPUT);
pinMode(led2, OUTPUT);
pinMode(led3, OUTPUT);
}
// the loop routine runs over and over again forever:
void loop() {
digitalWrite(led, HIGH); // turn the LED on (HIGH is the voltage level)
delay(100); // wait for a second
digitalWrite(led, LOW); // turn the LED off by making the voltage LOW
delay(100);
{digitalWrite(led2, HIGH);
delay(100);
digitalWrite(led2, LOW);
delay(100);}
{digitalWrite(led3, HIGH);
delay(100);
digitalWrite(led3, LOW);
delay(100);}// wait for a second
}
...........................................................................................................................................................


No comments:
Post a Comment